My life has been changed forever by DIY sugar wax. I have tried to get a recipe for sugar wax down for a couple of years. The recipes are SO picky! I have given up and retried over the last two years and finally found a way to make it work. Here is why I have wanted to use sugar wax:
Why I Love DIY Sugar Wax
- You do not have to shave NEAR as often. I usually had to shave my armpits every day. With waxing I now only have to wax once a week.
- Many people find that with regular waxing, hair grows back finer and thinner over time. Yay! And that saves you some money and appointment time too.
- Sugar wax is different than regular waxing at your nearest waxing salon. Wax with strips can pull at the top layer of your skin. Sugar wax sticks mostly to the hair, so it is gentler on your skin.
- Making your own is cheap!
- The sugar wax is water soluble, so it is easy to clean up.
I found out why the recipes are so hard. It is a very specific consistency. You have to get the wax where it is not too hard in that hard candy stage. And it can not be too soft where it is just a mess and does not pull any hair out. Each person’s stove is different and so the times and heat will all differ. So I am going to try and show you what you want it to be.
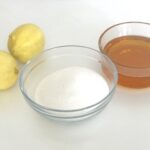

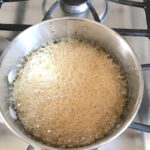
DIY Sugar Wax Recipe
- 2 cups White sugar
- 1/4 cup Bottled lemon juice
- 1/4 cup Water
That’s it! Cheap right? This batch makes you enough that it would cost you $60 to buy. And those waxing appointments can be $50 for one time. This wax you can use anywhere on your body and one batch will last you a long time!
How to Make DIY Sugar Wax
Add all the ingredients to a pot, turn on low and stir. Once it melts together and starts boiling, start your timer. Boil on low for about 5 minutes. The time will differ for you depending on your stove, i.e. gas, electric or flat top. Start with 5 minutes and work your way up and find your time. Better to be underdone than overdone.
Pour out of the pot right away into a glass container. Be careful, hot sugar can cause serious burns, so keep little ones away from the stove. Pouring it out immediately ensures that it does not keep cooking. The color should be a pretty amber color. If it is more golden, it is not done yet, but let it cool and you can cook it again.
Put your pot in the sink and fill with water and it will all dissolve. Rinse and then dry the pot and set aside in case you need to cook it again.
How to Use Your DIY Sugar Wax
Try and be in a cool air flowing room so you do not sweat. Your skin needs to be clean and dry. And your hair needs to be long enough for the wax to grab.
Use a credit card to scoop out a tiny bit and spread the wax against the growth of hair. Spread evenly and then pull in the direction of the hair growth. When you pull stay close to the skin and do NOT pull in an upward direction.
You can use the wax until it does not stick anymore or is full of hair. It turns a shiny gold color when it is finished.
Simply run the card under warm water to dissolve it and wash the card clean.
DIY Sugar Wax Tips and Troubleshooting
If it is too hard you will have to throw it away and start over. It will feel like a rock and you will not be able to press your finger in at all. It is best to under cook it and then re-boil if you find you did not cook it long enough.
If you need to cook it longer add it back into the dried pot that you set aside. Bring to a boil and then set timer for ONE minute and then pour out. Repeat this until you get the right consistency- see below.
Check out this picture:
The color is right, but if I push my finger into it and try and lift it up it sticks to my finger. This batch will work and I used it just fine. What happens if it is too soft like this, is that when you apply it to your skin and your skin warms it, it becomes too “runny” and soft and won’t grab the hair as well.
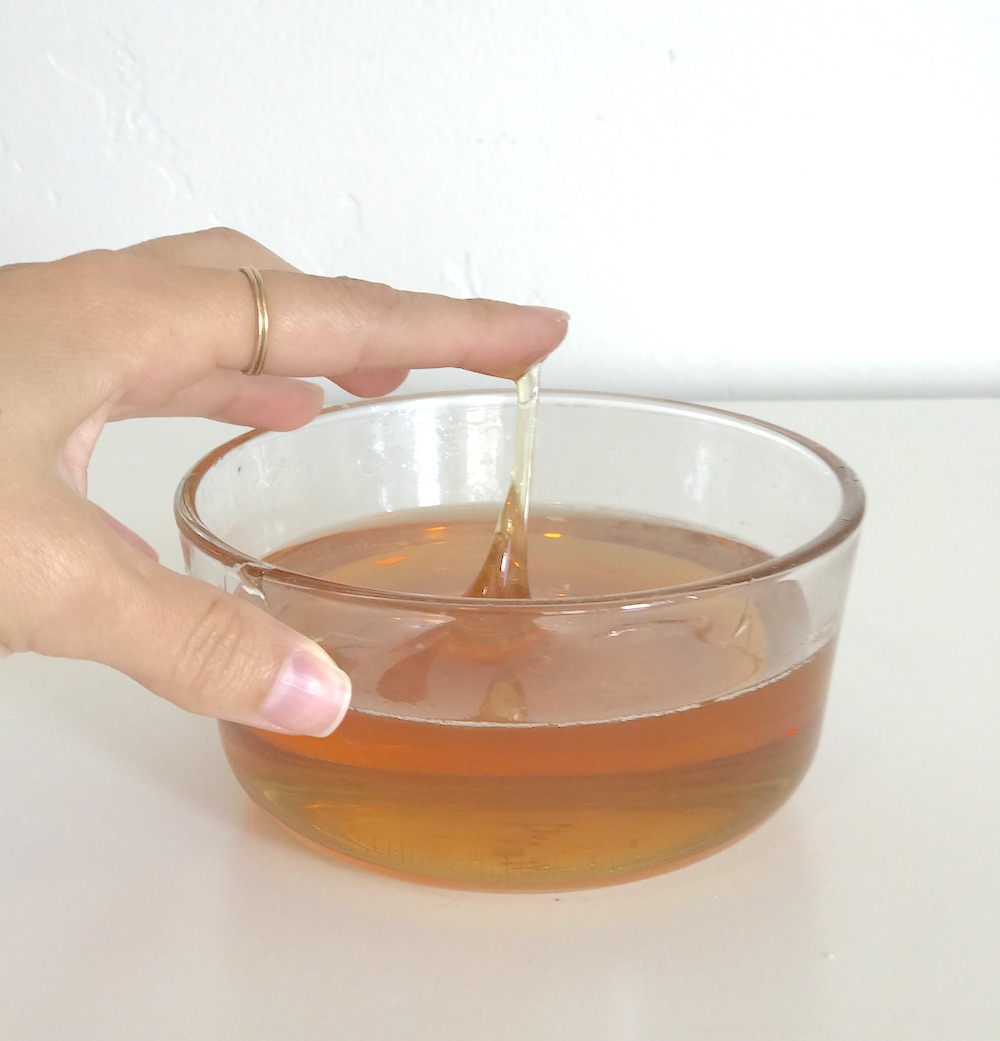
I scraped out this batch and put it back into the pot, brought it to a boil and boiled it for ONE more minute. After it cools it now did this…
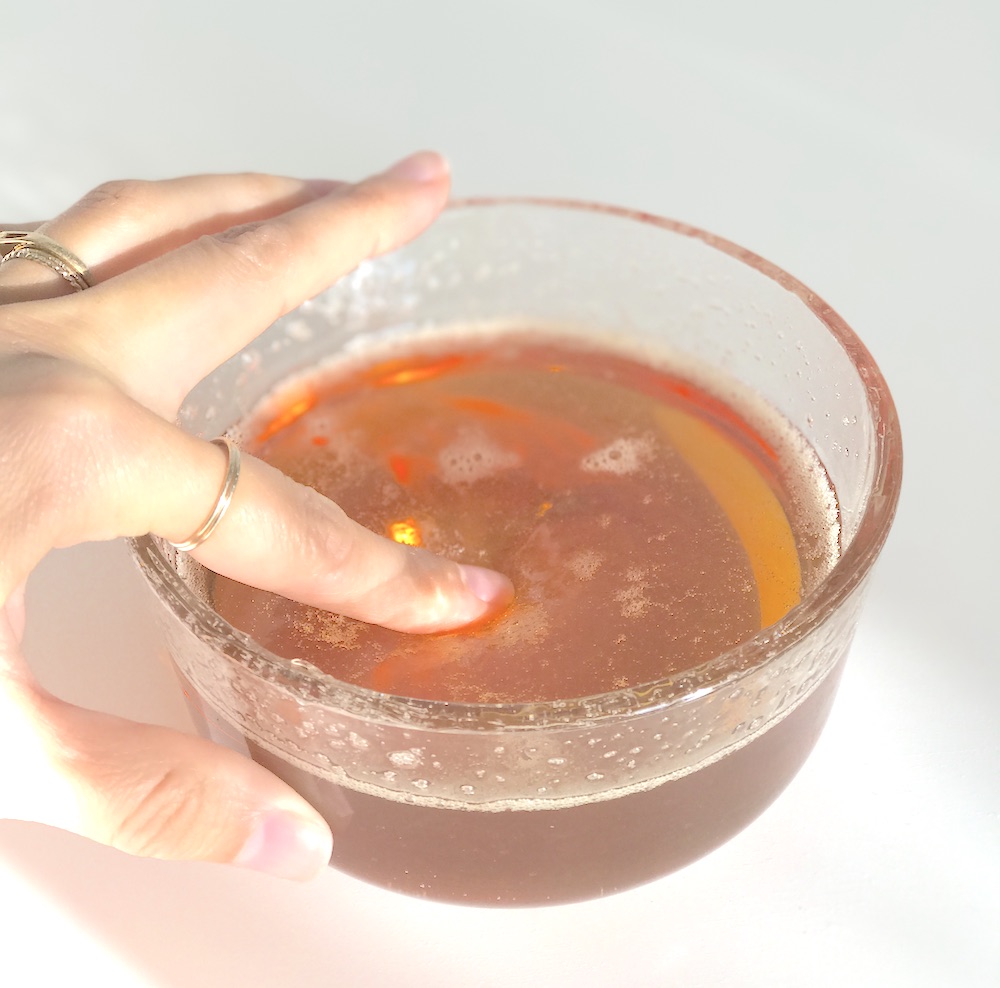
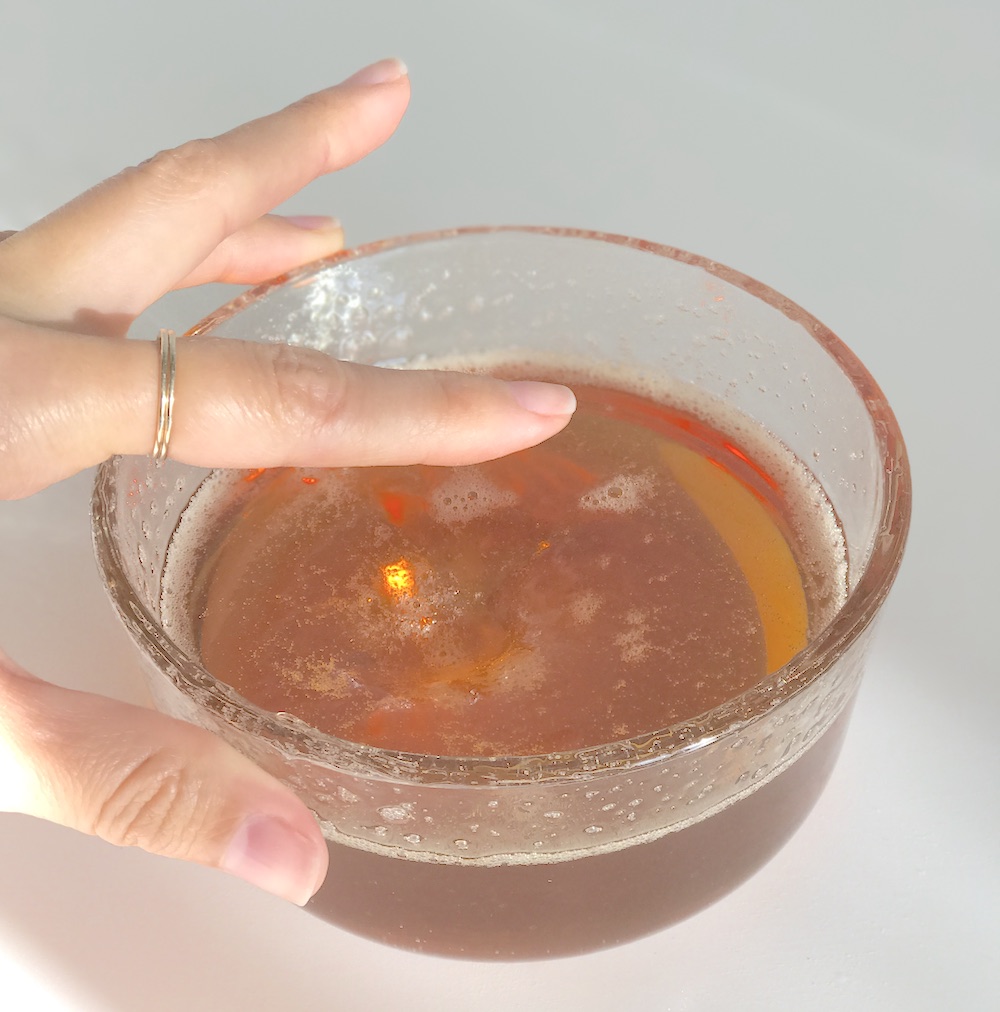
See how it did not stick to my finger this time? The consistency is soft enough to press my finger into, but not soft enough to stick to my finger. This is where you want it to be. There is no oily or watery film on the top. It is pretty tough to scoop out and I have broken a card in half before. Once it touches the skin and warms up it is just soft enough to spread.
- For armpits use smaller amounts and work in one area till it is clean.
- Upper lip use small amounts of wax and spread thin.
- When you spread the wax if it does not stick to your skin at first, hold down the bottom and then spread.
- Hold the wax to your skin to let it “warm up” before you start spreading it.
- If you feel the skin getting too raw then stop and let your hair grow longer if it is not coming out.
- Hairs need to be short enough so that it does not hurt and pull when you spread the wax. And long enough so that the wax can melt and grab onto them.
- It takes a bit of practice to learn the pulling technique, if you do not do it right you might see some bruising. Just remember to stay as close to the skin in a downward direction. Your first time in sensitive areas will be painful, even in your armpits. The more you do it, the less it hurts. After I am done waxing I wash and then put coconut oil on the skin. Just remember when you first started tweezing your eyebrows and how much it hurt? And now you cannot even feel it anymore? Trust me, it gets better.
A Few Safety Tips
Do a small patch test the first time to make sure your skin is happy. Skip waxing on skin that is sunburned, broken, irritated or has a rash, and if you use retinol or prescription acne creams, check with your doctor first, since they can make your skin more fragile. After waxing, I wash and put on coconut oil, and I avoid hot showers and the sun on that area for a day. You can read more about at-home hair removal tips from the American Academy of Dermatology. Want more natural beauty recipes? Try my DIY sugar scrub and DIY eye serum.